1.下载安装Flume,配置flume
[hadoop@hadoop conf]$ cat exec_memory_kafka.conf
# Name the components on this agent
a1.sources = r1
a1.sinks = k1
a1.channels = c1

# Describe/configure the custom exec source
a1.sources.r1.type = com.ruozedata.prewarning.ExecSourceJSON
a1.sources.r1.command = tail -F /home/hadoop/flume-test-log hadoop-cmf-hdfs-NAMENODE-ruozedata001.log.out
a1.sources.r1.hostname = hadoop
a1.sources.r1.servicename = namenode


# Describe the sink
a1.sinks.k1.type = org.apache.flume.sink.kafka.KafkaSink
a1.sinks.k1.kafka.topic = PREWARNING
a1.sinks.k1.kafka.bootstrap.servers = hadoop:9090,hadoop:9091,hadoop:9092
a1.sinks.k1.kafka.flumeBatchSize = 6000
a1.sinks.k1.kafka.producer.acks = all
a1.sinks.k1.kafka.producer.linger.ms = 1
a1.sinks.ki.kafka.producer.compression.type = snappy

# Use a channel which buffers events in memory
a1.channels.c1.type = memory
a1.channels.c1.keep-alive = 90
a1.channels.c1.capacity = 2000000
a1.channels.c1.transactionCapacity = 6000

# Bind the source and sink to the channel
a1.sources.r1.channels = c1
a1.sinks.k1.channel = c1
|
2.拉取源码拉取源码到idea
地址:https://github.com/apache/flume
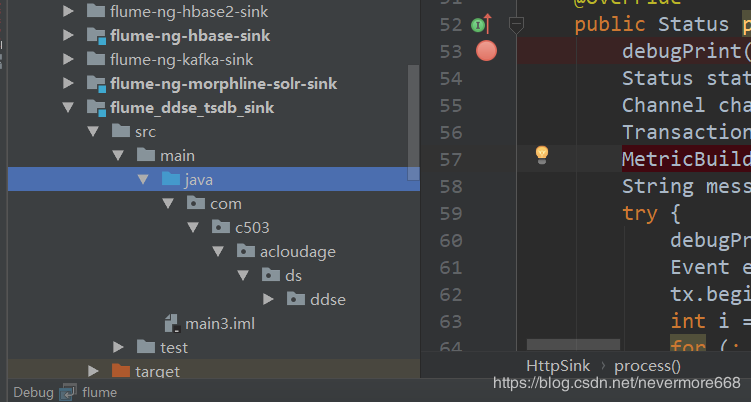
3.将自己写的代码放入到源码中

4.自己写的代码打包后放到远端服务器的lib目录下

注意:除了这种方法,还可以直接修改源码,然后一起打包上传到服务器上
5.启动flume服务
nohup  /home/hadoop/app/apache-flume-1.7.0-bin/bin/flume-ng agent \
-c /home/hadoop/app/apache-flume-1.7.0-bin/conf \
-f /home/hadoop/MonitoringProject/exec_memory_kafka.properties \
-n a1 \
-Dflume.root.logger=DEBUG,console -Xmx20m -Xdebug -Xrunjdwp:transport=dt_socket,address=8000,server=y,suspend=y
|
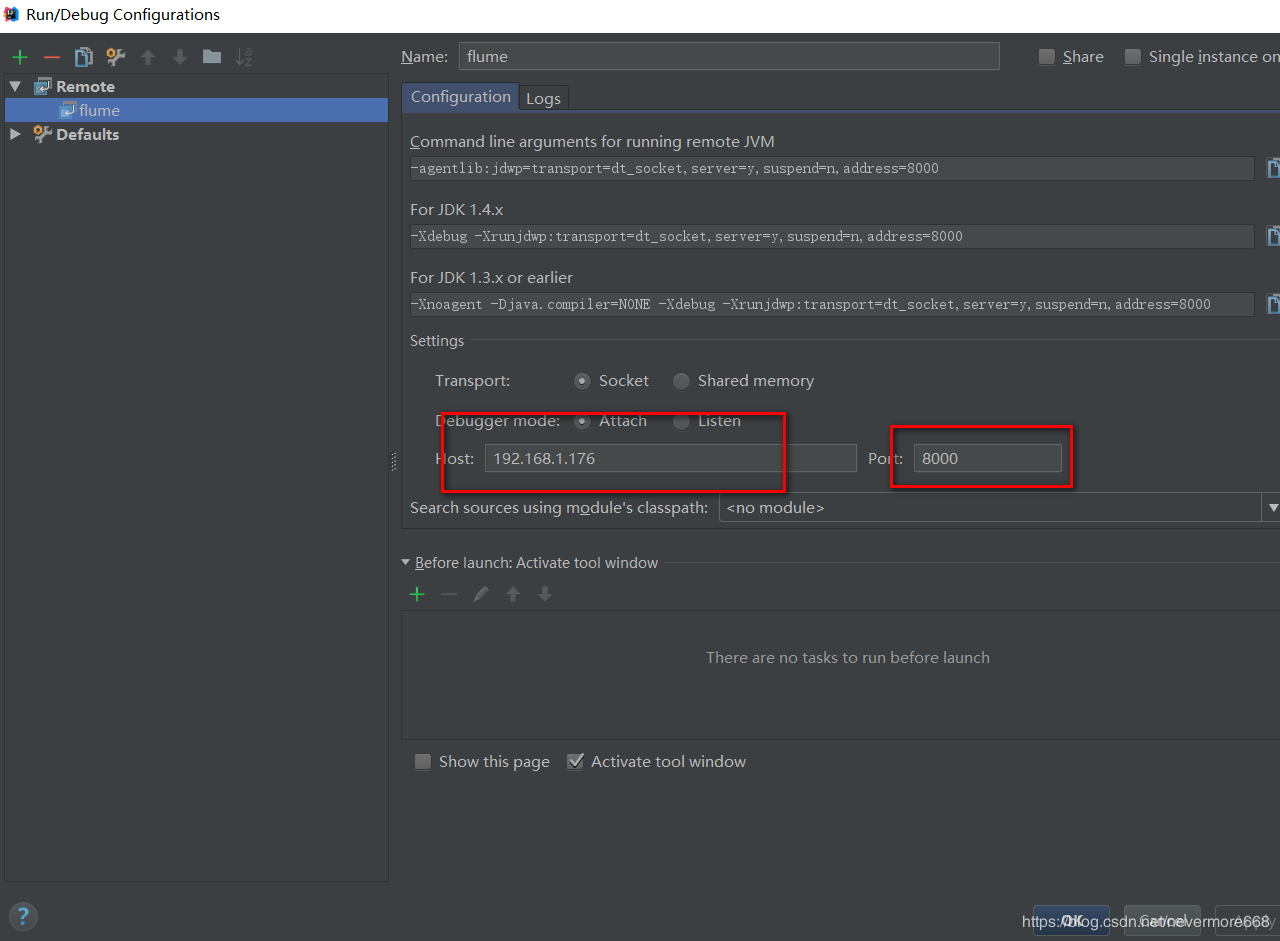
6.配置启动应用

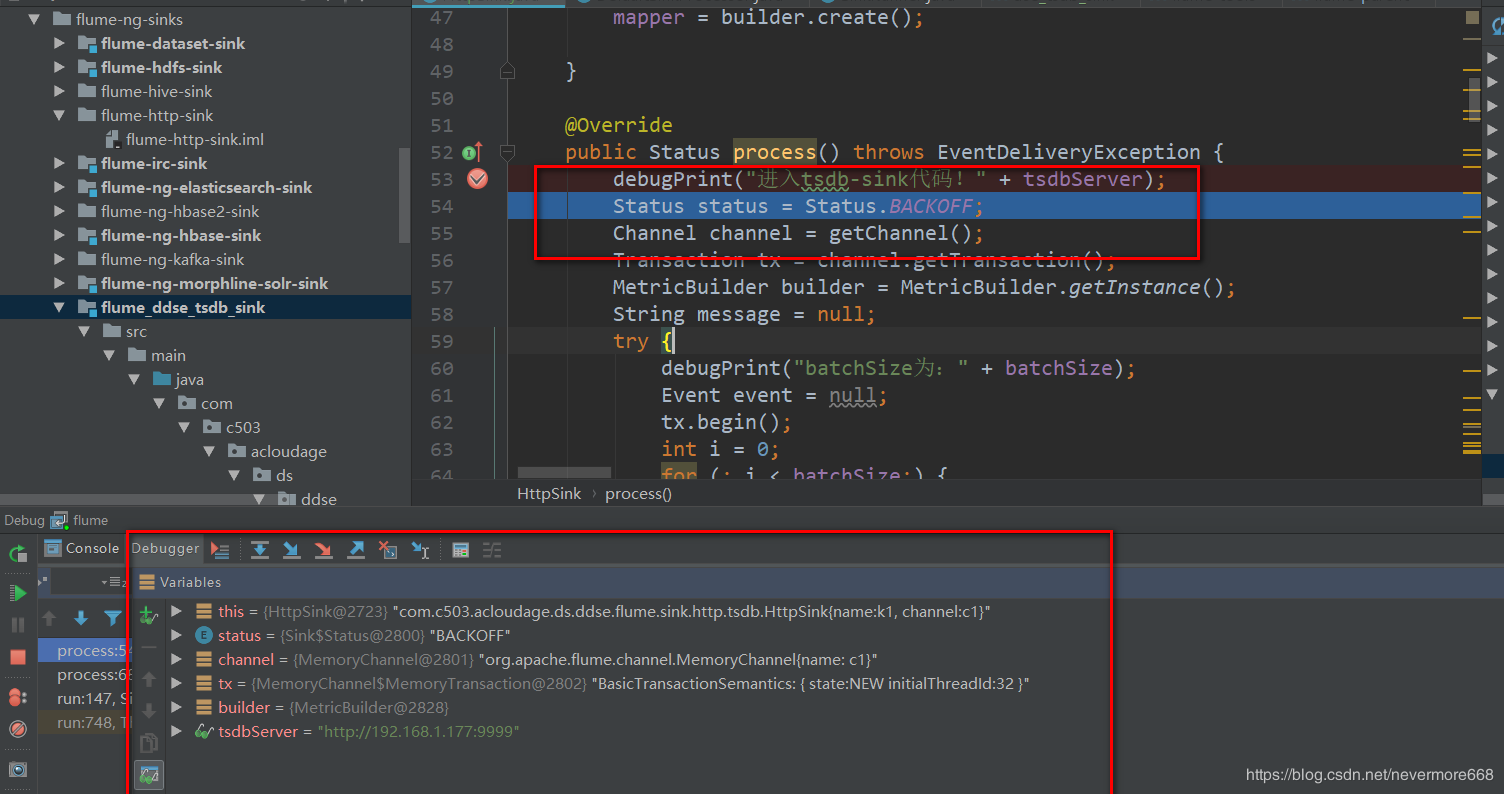
打上断点,启动后即可进入断点


